
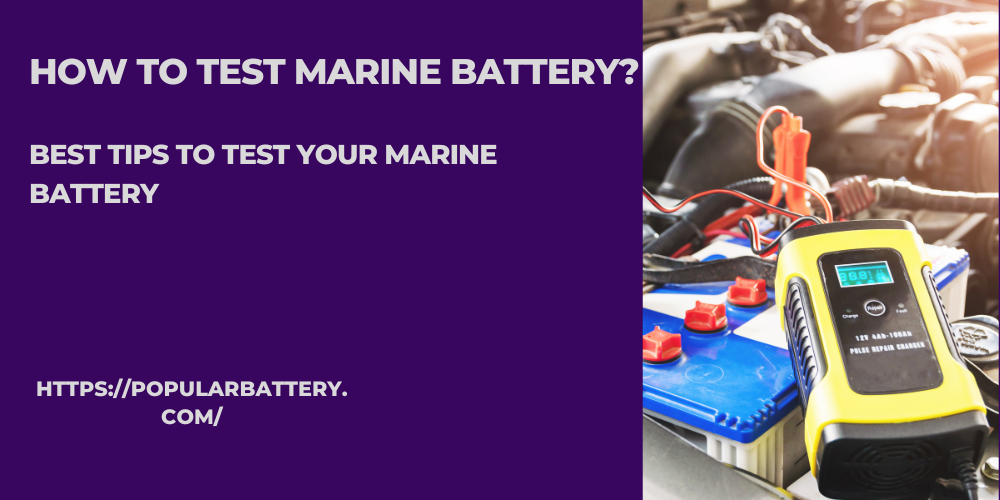
How to test marine battery? best tips to test your marine battery (2024). To test a marine battery, start with a visual inspection for damage and clean terminals. Use a multimeter set to DC voltage to check the battery’s voltage; a fully charged 12-volt battery should read around 12.6 volts.
To test a marine battery, inspect it visually for damage, clean the terminals, check its voltage with a multimeter (12.6 volts indicates full charge for a 12-volt battery), and perform a load test using a load tester to evaluate its ability to hold charge under load.
Perform a load test with a load tester, applying a specified load to assess the battery’s ability to maintain voltage under stress. Follow safety precautions during testing.
How to test marine battery? best tips to test your marine battery (2024).
Why Test Your Marine Battery?
- Ensure Reliability: Regular testing of your marine battery ensures it is reliable and can power your boat’s systems effectively when you are out on the water, reducing the risk of getting stranded due to battery failure.
- Preventative Maintenance: Testing helps identify potential issues early, allowing for preventative maintenance. This can extend the life of your battery and save money on costly replacements.
- Optimize Performance: By testing your battery, you can ensure it is performing at its best. A well-maintained battery operates more efficiently, providing consistent power to your boat’s electronics and motor.
- Safety: A failing battery can pose safety risks, including the potential for leaks or bursts. Regular testing helps detect these risks early, ensuring the safety of you and your passengers.
- Seasonal Readiness: For boat owners in seasonal climates, testing your marine battery before the boating season begins ensures that it is charged, healthy, and ready to go, preventing last-minute issues or delays.
What You Need Before You Start.

Before starting a marine battery test, ensure you have the following: a multimeter or voltmeter for voltage checks, a load tester for assessing battery capacity under load, safety gear like gloves and goggles, a clean cloth or brush for terminal cleaning, and a hydrometer for flooded batteries to measure electrolyte specific gravity. These tools facilitate accurate testing and safety.
Testing Battery Voltage: A Crucial Indicator.

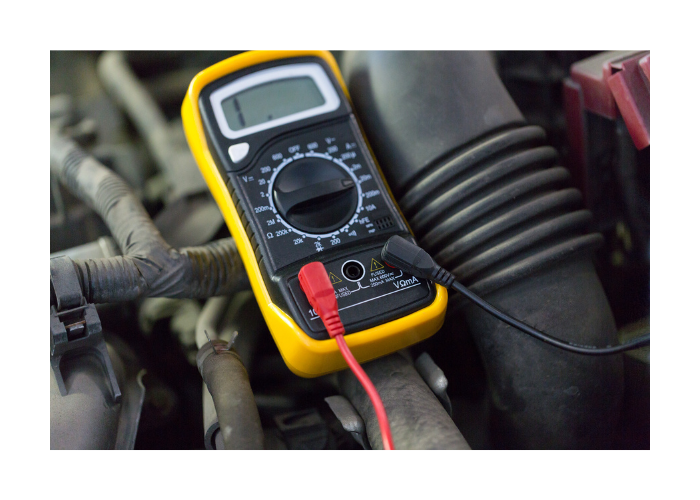
- Prepare Your Multimeter: Set your multimeter to the DC voltage setting to accurately measure the battery’s voltage. Ensure it is calibrated and ready for use.
- Connect the Multimeter: Attach the multimeter’s red lead to the battery’s positive terminal and the black lead to the negative terminal. Ensure a secure and correct connection for an accurate reading.
- Read the Voltage: Observe the voltage reading on the multimeter. A fully charged 12-volt marine battery should display a reading around 12.6 volts or more. A reading below 12.4 volts indicates a discharged battery that may require charging.
- Assess Battery Health: Use the voltage reading to assess the battery’s health. Consistently low readings might suggest a failing battery that cannot hold a charge effectively.
- Record and Monitor: Keep a record of voltage readings over time to monitor the battery’s charging patterns and health. Regular monitoring can help identify declining performance early, allowing for timely maintenance or replacement.
The Ultimate Battery Health Check.
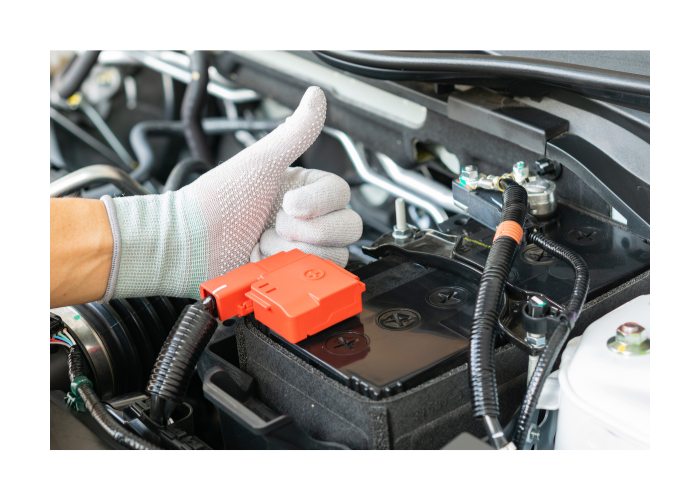
- Visual Inspection: Begin with a thorough visual inspection of the battery. Check for any signs of physical damage, leaks, or swelling of the battery case. Ensure the terminals are clean and free from corrosion, which could affect performance.
- Voltage Testing: Use a multimeter to measure the battery’s voltage. A fully charged 12-volt marine battery should read around 12.6 volts or higher. A reading significantly lower than this indicates the battery may be undercharged or failing.
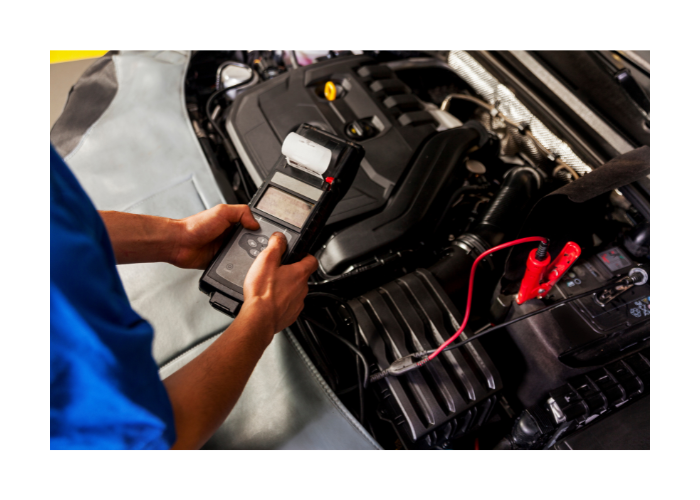
- Load Testing: Conduct a load test using a load tester to simulate the battery’s performance under typical operating conditions. This test will help identify if the battery can hold up under stress or if it’s nearing the end of its lifespan.
- Specific Gravity Test (For Flooded Batteries): Use a hydrometer to measure the specific gravity of each cell’s electrolyte. This step is crucial for flooded batteries and helps assess the state of charge and health of individual cells. Consistent readings across all cells indicate good health.
- Charge and Re-test: If the battery shows signs of undercharging, fully charge it using a proper charger and then re-test using steps 2 and 3 to confirm improvement or identify persistent issues. This step helps in determining if the battery is recoverable or needs replacement.
Ensuring Battery Recovery.
- Charge the Battery Fully: Use a marine-grade battery charger to fully charge the battery according to the manufacturer’s specifications. Ensure the charger is compatible with your battery type (e.g., AGM, gel, or flooded).
- Rest and Retest: After charging, let the battery rest for 12 to 24 hours. This allows the charge to stabilize across the battery cells. Retest the voltage with a multimeter to ensure it holds a charge, indicating recovery.
- Perform a Load Test: Conduct a load test again to assess the battery’s ability to maintain voltage under load. A successful recovery is indicated by the battery maintaining a voltage above 9.6 volts for a 12-volt battery under load.
- Equalization Charge (for Flooded Batteries): If the battery is a flooded type and still shows signs of uneven cell voltages, an equalization charge might be necessary. This is a controlled overcharge to balance the cells and should be done according to the manufacturer’s instructions.
- Maintenance and Monitoring: Implement regular maintenance, such as cleaning terminals and checking electrolyte levels (for flooded batteries), and closely monitor the battery’s performance. Regular checks will help ensure the battery remains in good condition and can recover from future discharges.
Conclusion
Testing a marine battery is essential for ensuring its reliability and performance. By conducting visual inspections, voltage checks, and load tests, you can assess the health of your battery. Regular testing allows for early detection of potential issues, leading to timely maintenance or replacement. This proactive approach ensures your marine adventures are powered by a dependable and efficient battery system.
Faqs
Qno1: How do I know if my marine battery is bad?
Ans: A marine battery may be bad if it fails to hold a charge indicated by consistently low voltage readings below 12.4 volts or performs poorly during a load test, dropping below 9.6 volts.
Qno2: What is the best way to test a marine battery?
Ans: The best way to test a marine battery is by performing a voltage test with a multimeter and a load test using a load tester, as these methods accurately assess its charge state and capacity under load.
Qno3: What is the average life of a marine battery?
Ans: The average life of a marine battery ranges between 3 to 6 years, depending on its type, maintenance, usage patterns, and environmental conditions.
Qno4: Can a dead marine battery be charged?
Ans: Yes, a dead marine battery can often be recharged using a marine-grade battery charger, but its ability to hold a charge afterward depends on the battery’s condition and age.
Qno5: How many times can a marine battery be recharged?
Ans: A marine battery can typically be recharged hundreds of times, but the exact number varies based on the battery type, usage, and maintenance practices.
